Retiming playback using the Timewarp effect
The Timewarp effect in After Effects gives you precise control over a wide range of parameters when changing the playback speed of a layer, including interpolation methods, motion blur, and source cropping to eliminate unwanted artifacts.
In this exercise, you will use the Timewarp effect to change the speed of a clip, slowing it down and speeding it up at different points. If you haven’t already watched the sample movie for this exercise, do so now.
Setting up the project
Start by launching After Effects and creating a new project.
- If After Effects isn’t open, start it, and then immediately hold down Ctrl+Alt+Shift (Windows) or Command+Option+Shift (macOS) to restore default preferences settings. In the Startup Repair Options dialog box, click Reset Preferences, and then click New Project in the Home window.
After Effects opens to display an empty, untitled project.
- Choose File > Save As > Save As.
- In the Save As dialog box, navigate to the Lessons/Lesson14/Finished_Projects folder.
- Name the project Lesson14_Timewarp.aep, and then click Save.
- Click New Composition From Footage in the Composition panel. Then navigate to the Lessons/Lesson14/Assets folder on your hard disk, select the spinning_dog.mov file, and click Import or Open.
After Effects creates a new composition named for the source file, and displays it in the Composition and Timeline panels.
- Choose File > Save to save the project.
Using Timewarp
In the source footage, a dog spins as she moves from room to room. At around 4 seconds, you’ll slow the motion down to 10%, and then ramp up to twice the original speed before slowing back to full speed at the end of the clip.
- With the spinning_dog.mov layer selected in the Timeline panel, choose Effect > Time > Timewarp.
- If the Effect Controls panel isn’t open, choose Window > Effect Controls.
- In the Timewarp area of the Effect Controls panel, make sure Pixel Motion is selected in the Method menu and Speed is selected in the Adjust Time By menu.
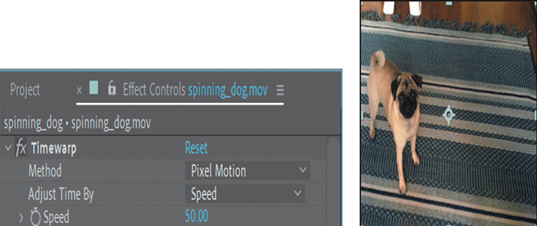
With Pixel Motion selected, Timewarp creates new frames by analyzing the pixel movement in nearby frames and creating motion vectors. The Speed option controls the time adjustment by percentage rather than by a specific frame.
- Go to 2:00.
- In the Effect Controls panel, set the Speed to 100, and click the stopwatch icon ( ) to set a keyframe.
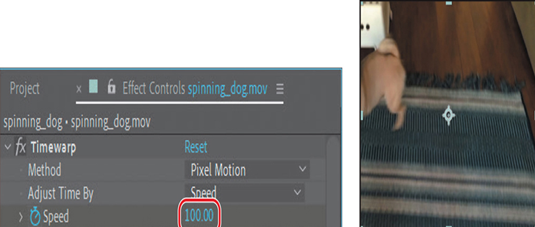
The Timewarp effect will keep the speed of the clip at 100% until the 2-second mark.
- With the spinning_dog.mov layer selected in the Timeline panel, press the U key to see the animated Timewarp Speed property.
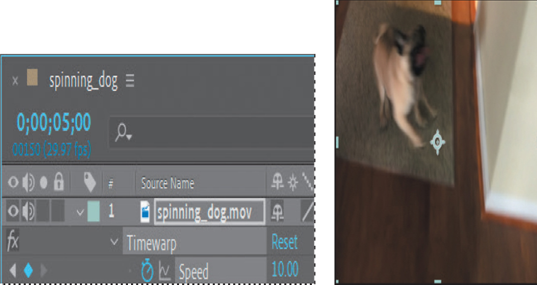
- Go to 5:00, and set the Speed to 10. After Effects adds a keyframe.
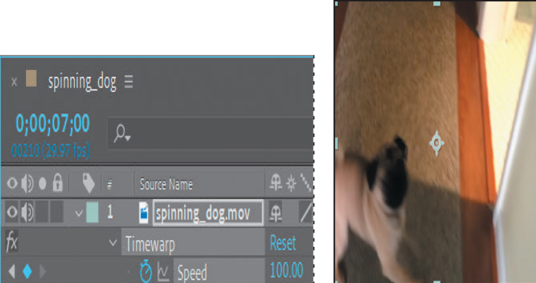
- Go to 7:00, and set the Speed to 100. After Effects adds a keyframe.
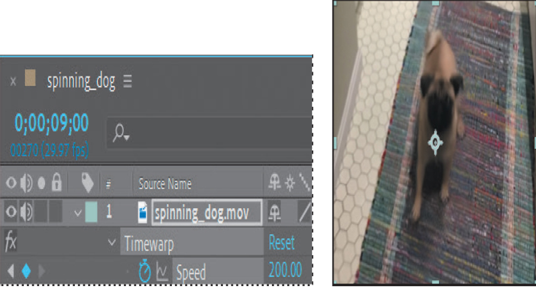
- Go to 9:00, and set the Speed to 200. After Effects adds a keyframe.
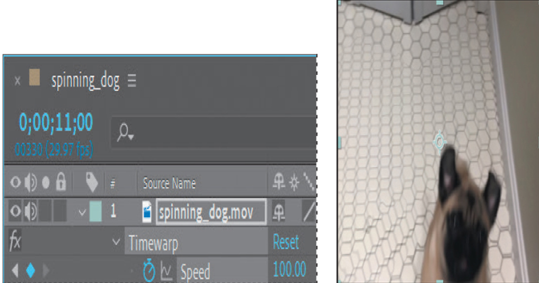
- Go to 11:00, and set the Speed to 100. After Effects adds a keyframe.
- Press the Home key or move the current-time indicator to the beginning of the time ruler, and then press the spacebar to watch a preview of the effect.
Note
Be patient. The first time through, After Effects is caching information in RAM. The second time it plays, playback will be more accurate.