Lesson overview
In this lesson, you’ll learn how to do the following:
- Output movies using the Render Queue.
- Create templates for the Render Queue.
- Receive notifications when rendering is complete.
- Output movies using Adobe Media Encoder.
- Select the appropriate compressor for your delivery format.
- Produce a test version of a composition.
- Create custom encoding presets in Adobe Media Encoder.
- Render and output a web version of the final composition.
The total amount of time required to complete this lesson depends in part on the speed of your processor and the amount of RAM available for rendering. The amount of hands-on time required is less than an hour. If you haven’t already done so, download the project files for this lesson from peachpit.com/AfterEffectsCIB2024, following the instructions in the Getting Started section under “Accessing the lesson files and Web Edition.”
PROJECT: OUTPUTTING YOUR PROJECT FOR MULTIPLE USES
BROADCAST
WEB
The success of any project depends on your ability to deliver it in the format you need, whether it’s for the web or broadcast output. Using Adobe After Effects and Adobe Media Encoder, you can render and export a final composition in a variety of formats and resolutions.
Getting started
This lesson continues from the point at which many of the preceding lessons end: when you’re ready to output the final composition. In order to produce several versions of the animation for this lesson, you’ll explore options available within the Render Queue panel and Adobe Media Encoder. For this lesson, we provide you with a starting project file that is essentially the final composition from Lesson 1 of this book.
- Make sure the following files are in the Lessons/Lesson15 folder on your hard disk, or download them from peachpit.com now:
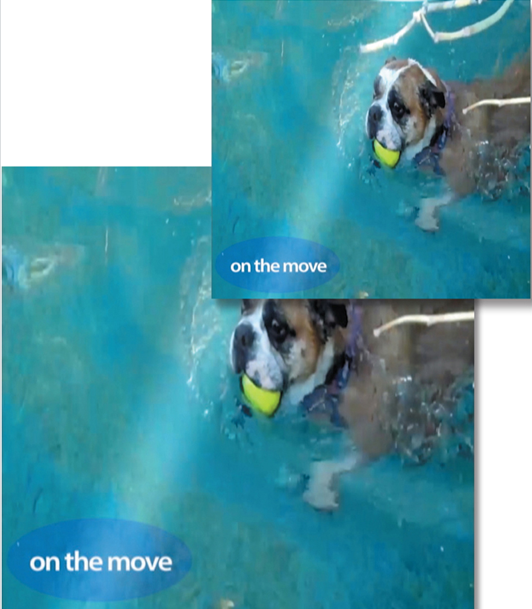
• In the Assets folder: movement.mp3, swimming_dog.mp4, title.psd
• In the Start_Project_File folder: Lesson15_Start.aep
• In the Sample_Movies folder: Lesson15_Draft_RQ.mp4, Lesson15_Final_Web.mp4, Lesson15_HD-test_1080p.mp4, Lesson15_Lowres_YouTube.mp4 - Open and play the sample movies for Lesson 15, which represent different final versions of the movie—rendered with different quality settings—that you created in Lesson 1. When you’re done viewing the sample movies, quit Windows Movies & TV or QuickTime Player. You may delete the sample movies from your hard disk if you have limited storage space.
Note
The Lesson15_HD_test_1080p.mp4 file includes only the first three seconds of the movie.
As always, when you begin the lesson, restore the default application settings for After Effects. See “Restoring default preferences” on page 3.
- Start After Effects, and then immediately hold down Ctrl+Alt+Shift (Windows) or Command+Option+Shift (macOS). In the Startup Repair Options dialog box, click Reset Preferences.
- Click Open Project in the Home window.
- Navigate to the Lessons/Lesson15/Start_Project_File folder, select the Lesson15_Start.aep file, and click Open.
- Choose File > Save As > Save As.
- In the Save As dialog box, navigate to the Lessons/Lesson15/Finished_Project folder.
- Name the project Lesson15_Finished.aep, and then click Save.
Note
If you receive an error message about missing layer dependencies (Arial Narrow Regular), click OK. If you’re missing footage, right-click a footage item, choose Replace Footage > File, navigate to the Lesson15/Assets folder, and double-click the file.