Lesson overview
In this lesson, you’ll learn how to do the following:
- Stabilize a shaky camera shot.
- Use single-point motion tracking to track one object in a shot to another object in a shot.
- Remove unwanted objects from video using content-aware fill.
- Create a particle system.
- Use the Timewarp effect to create slow-motion video.
This lesson will take about two hours to complete. If you haven’t already done so, download the project files for this lesson from peachpit.com/AfterEffectsCIB2024, following the instructions in the Getting Started section under “Accessing the lesson files and Web Edition.”
PROJECT: SPECIAL EFFECTS AND EDITING TECHNIQUES
After Effects provides advanced motion stabilization, motion tracking, high-end effects, and other features for the most demanding production environments.
Getting started
In previous lessons, you’ve used many of the essential 2D and 3D tools you need for motion graphics design. But Adobe After Effects also offers motion stabilization, motion tracking, advanced keying tools, distortion effects, the capability to retime footage using the Timewarp effect, support for high dynamic range (HDR) color images, network rendering, and much more. In this lesson, you will learn how to use Warp Stabilizer VFX to stabilize a handheld camera shot, how to track one object to another in an image so that their motion is synchronized, and how to remove unwanted objects using content-aware fill. Finally, you will explore two of the high-end digital effects available in After Effects: a particle system generator and the Timewarp effect.
This lesson includes multiple projects. Take a peek at all of them before beginning.
- Make sure the following files are in the Lessons/Lesson14 folder on your hard disk, or download them from peachpit.com now:
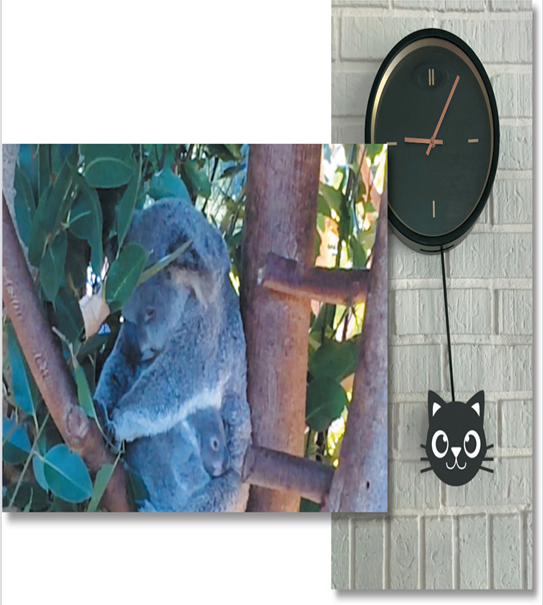
• In the Assets folder: cat.psd, koala.mov, snowday.mov, spinning_dog.mov, ticktock.mov
• In the Sample_Movies folder: Lesson14_Content-Aware.mp4, Lesson14_Particles.mp4, Lesson14_Stabilize.mp4, Lesson14_Timewarp.mp4, and Lesson14_Tracking.mp4. - Play the sample movies in Windows Movies & TV or QuickTime Player to see the projects you will create in this lesson.
- When you’re done, quit Windows Movies & TV or QuickTime Player. You may delete these sample movies from your hard disk if you have limited storage space.
Note
You can view these movies all at once or, if you don’t plan to complete these exercises in one session, you can watch each sample movie just before you are ready to complete the associated exercise.