You will now create a bright halo of light that will go behind the particles.
- Go to 7:00.
- Press Ctrl+Y (Windows) or Command+Y (macOS) to create a new solid layer.
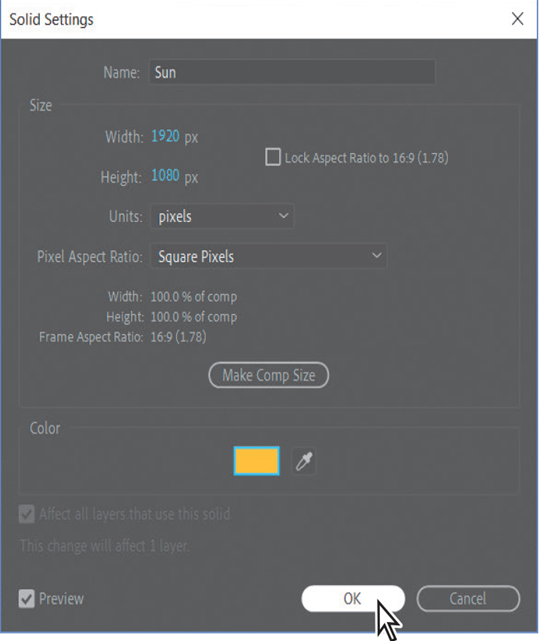
- In the Solid Settings dialog box, do the following:
• Type Sun in the Name box.
• Click Make Comp Size to make the layer the same size as the composition.
• Click the color swatch, and make the layer the same yellow as the Birth Color of the particles (R=255, G=200, B=50).
• Click OK to close the Solid Settings dialog box.
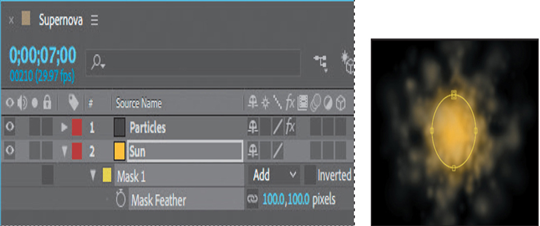
- Drag the Sun layer below the Particles layer in the Timeline panel.
- Select the Ellipse tool ( ), which may be hidden behind the Rectangle tool ( ) in the Tools panel, and Shift-drag in the Composition panel to draw a circle with a radius of roughly 100 pixels, or one-fourth the width of the composition. You’ve created a mask.
- Using the Selection tool ( ), click the mask shape and then drag it to the center of the Composition panel.
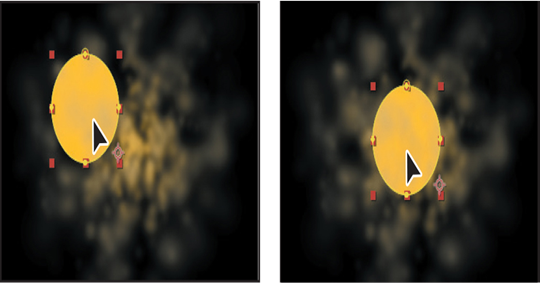
- With the Sun layer selected in the Timeline panel, press the F key to reveal its Mask Feather property. Increase the Mask Feather amount to 100, 100 pixels.
- Press Alt+[ (Windows) or Option+[ (macOS) to set the In point of the layer to the current time.
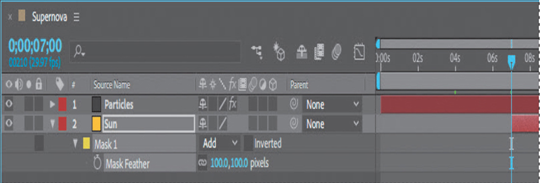
- Hide the properties for the Sun layer.
Lighting the darkness
Since the sun is bright, it should illuminate the surrounding darkness.
- Make sure the current-time indicator is still at 7:00.
- Press Ctrl+Y (Windows) or Command+Y (macOS) to create a new solid layer.
- In the Solid Settings dialog box, name the layer Background, click the Make Comp Size button to make the layer the same size as the composition, and then click OK to create the layer.
- In the Timeline panel, drag the Background layer to the bottom position in the layer stack.
- With the Background layer selected in the Timeline panel, choose Effect > Generate > Gradient Ramp.
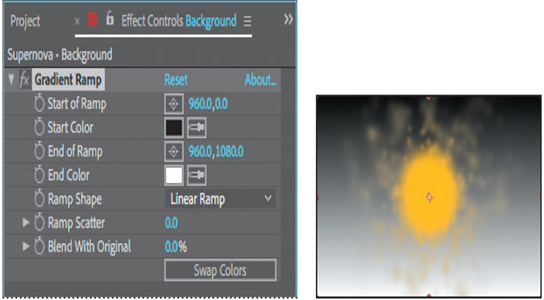
The Gradient Ramp effect creates a color gradient, blending it with the original image. You can create linear ramps or radial ramps, and vary the position and colors of the ramp over time. Use the Start Of Ramp and End Of Ramp settings to specify the start and end positions. Use the Ramp Scatter setting to disperse the ramp colors and eliminate banding.
- In the Gradient Ramp area of the Effect Controls panel, do the following:
• Change Start Of Ramp to 960, 538 and End Of Ramp to 360, 525.
• Choose Radial Ramp from the Ramp Shape menu.
• Click the Start Color swatch, and set the start color to dark blue (R=0, G=25, B=135).
• Set the End Color to black (R=0, G=0, B=0).

- Press Alt+[ (Windows) or Option+[ (macOS) to set the In point of the layer to the current time.